It is
tutorial day at the
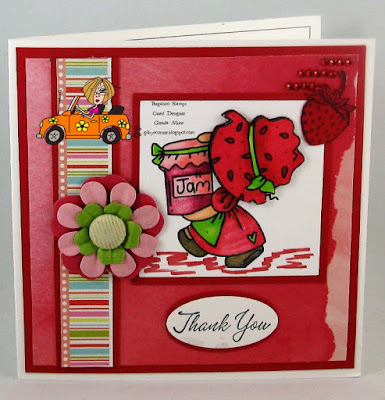
Catch the Bug Challenge blog and this is my contribution for this month. It is a short tutorial on how to create a simple flower to use as an embellishment. Flowers can be created using various tools and this is my version using a die and a punch.
Materials Used
- half pearl
- ink
- flower punch
- circle punch
- flower die
- sponge
- sicizzors
- glue
- ball stylus (optional)
Instructions
1. Create flower : die cut 2 flowers using a die of your choice.( I prefer a five petal one for this type of flower and used the Marianne Design LR0108 die for mine.) Punch out a five petal flower and a 1/2 circle.
2. Scizzor Cut one of the die cut flowers to a smaller size so just the ends of the larger flower can be seen when it is placed over the larger one.This die has a indentation ( just below the punched out ovals on each petal) that allows for a guideline of where to cut.
3. Sponge the edges of the flower pieces.
4. Adhere the largest petaled flower to the 1/2 inch circle for stabilization. (I use a glue pen) and use the ball stylus to give it some dimension.
5. Use the ball stylus on the second flower
before attaching it to the largest flower. This gives it more dimension than if you adhered it to the largest flower first (due to the circle stabilization).
6. Repeat step on the smallest flower and adhere the half pearl to the center.
You now have a flower to use as an embellishment. Just add some leaves or flourishes and you are ready to go! If desiring a flat flower delete the use of the ball stylus. If you would like the bottom layer more dimensional delete the use of the stabilizing circle.
Challenges:
1.
Crafting from the Heart Challenge #200 ATG
2.
PIP Challenge 1912 ATG
3.
Whoopsie Daisy Digi ATG option of anything but Square
4.
Through the Craftroom Door ATG
5.
Crafty Hazelnut's Patterned Paper March 2018
6.
Crafty Gals Challenge #162 ATG


